

Past Lessons and Activities
We pride ourselves on our variety of creative activities! Explore what activities we have done in the past and the informative lessons that explain the science behind them!
View what we've done so far
Discover our collection of creative activities and fun hands on projects. Each section mainly includes details of past events, the informative mini lesson, and photos from the club meeting.
Magnetic Slime - 06/23/26
This meeting started off with our typical mini-lesson applying scientific concepts to magnets. We learned about magnetism, the force that makes magnets stick to magnetic objects. We investigated how forces can cause a push or a pull. Another things we covered were magnetic fields, areas around magnets that have a magnetic force. Some metals are more magnetic than others such as nickel, iron, and cobalt which are found in everyday objects. Lastly, we applied the aspects of magnetism and magnets to Earth, as Earth is in a sense a large rotating magnet. Our planet has North and South poles, a magnetic metal core, and gravity acts as a magnetic force, pulling all objects to Earth.
After learning, we passed out materials to start our activity. We used transparent school glue, contact lens solution, baking soda, and iron filings which were individually separated and measured out to make the activity easy and organized for the children. We passed out magnetic wands to show students how the magnetic slime is attracted to the magnet. The children got to keep the slime and take it home to continue playing and exploring!

Mini-Lesson


Cyanotype Paper and NatureWalk - 05/18/26
This meeting started off with our typical mini-lesson explaining how cyanotype printing works. We explained the science behind "sun art" and how sunlight creates patterns on cyanotype paper. We learned that cyanotype paper is coated in a chemical iron salt solution that turns dark blue when exposed to sunlight. Thus, areas of the paper that are covered by objects will be shielded from the sunlight and remain white.
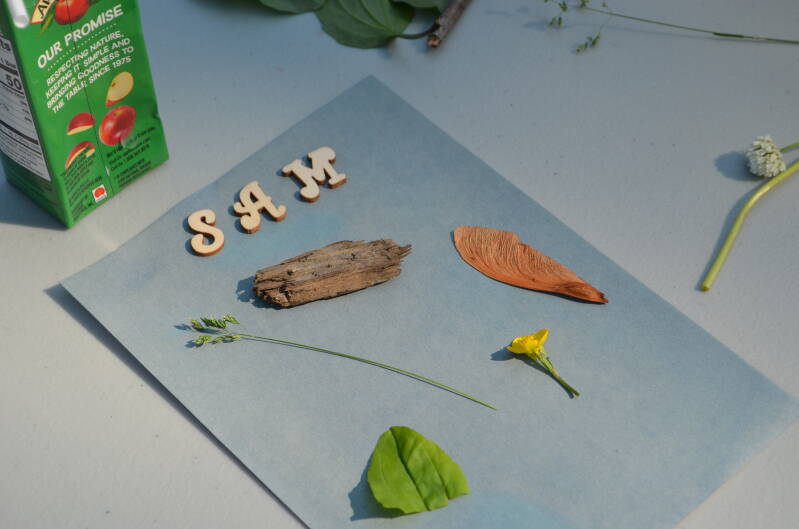
After learning, we went outside to start our activity. We went on a nature walk outside to collect sticks, flowers, grass, leaves, pinecones, and whatever else the children wanted to use to create their sun art. Next, we gathered at tables in the sun to arrange our art by arranging objects on the paper, then letting them sit out in direct sunlight for about five minutes. Then, we dunked our cyanotype paper into cool water and kept it submerged for about five to ten minutes. We then pulled out the paper and revealed our sun art masterpieces!

Mini-Lesson


Glowing Spinach - 04/20/26
This meeting started off with our typical mini-lesson explaining what chlorophyll is. We then explored how chloroplasts within chlorophyll helps plants make food for themselves, in a process called photosynthesis. We then learned a unique fun fact; chlorophyll is fluorescent under ultraviolet light! Natural chlorophyll dye produces a glow under UV light that is unlike artificial dye.
After learning we started our activity; making spinach glow under UV light. We started by squishing spinach in a plastic bag to form a paste using our fingers and rolling pins. Then, we added a few pumps of hand sanitizer. Alcohol and chlorophyll molecules are both lipophilic, or oil loving, so alcohol is best for extracting chlorophyll from spinach. We mixed the hand sanitizer and spinach together and then extracted the liquid. As a control, we compared the glasses of chlorophyll liquid to cups of water with green food coloring. Under the UV light, the glasses with chlorophyll glowed while the dyed water did not. This demonstrated how chlorophyll is fluorescent under UV light!

Mini-Lesson
Microscope Match Up: Copper Beech Science Night - 03/25/26
This was our very first event as a program! We set up a stand at the Copper Beech Science Night called Microscope Match Up where students learned how to use a handheld microscope and look at slides under a microscope. We had six sample images of microscope slides close up which students had to match to a certain samples including a feather, fish scale, carrot, onion skin, butterfly wing, and bamboo shoot. We also had students guess what three random objects were in images of them under a microscope, and then we revealed the object and how to look at it under a microscope. Students even got to look at their skin and clothes under the microscope, and saw their fingerprints and clothing fibers up close! While this was not a standard club meeting, the students at Science Night got to learn and participate in the kinds of hands-on interactive activities we like to do in STEM STARS!


Stay Updated
Don't miss out on the chance to explore our website to see what kinds of amazing opportunities you children could participate in! We always have something fun planned so make sure to tune in every month!
Create Your Own Website With Webador